Combat is a mechanic in the game where the player has to kill monsters for Loot Bags and additional drops. Combat is unlocked along with exploring. You are able to gain bonuses in Combat from Armor and Weapons. They can be equipped by left-clicking your Explorer. In order to actually hit the enemy, you need to buy the Rusty Sword from Community Center 2. To engage in Combat you have to click the Combat Button, while exploring.
How combat works[]
Once you have combat unlocked, you can tap on your explorer to equip items. The first thing you need to equip is the sword from the knight quest. Once you do that, you can fight. To fight, tap on the fight button AFTER you start exploring. It will ask you if you want to find a fight in the area you are currently exploring. By hitting yes, you start a battle. Fighting doesn't consume extra food.
Combat stats and what they do[]
There are 3 A's in combat:
- Attack : The sword is your attack number. This shows the maximum damage you can do on a hit. Higher attack means more damage you do to your opponent. Higher level weapons have higher attack values.
- Accuracy: The bulls-eye sight is your accuracy. This shows how often you penetrate through your opponent's defense. Usually, the higher level the weapon the more accuracy it has.
- Armor : The shield is your armor number. This shows how much armor you are wearing. The more armor you have on, the harder it is for your opponent to hit you.
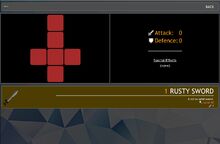
Equipping items[]
Once combat is unlocked, you can tap on your explorer to equip items. The items you currently have are displayed at the bottom of your screen. You can tap on them, and they are automatically equipped to your character.
(See Image to Right)
You can find information on equipment following this link
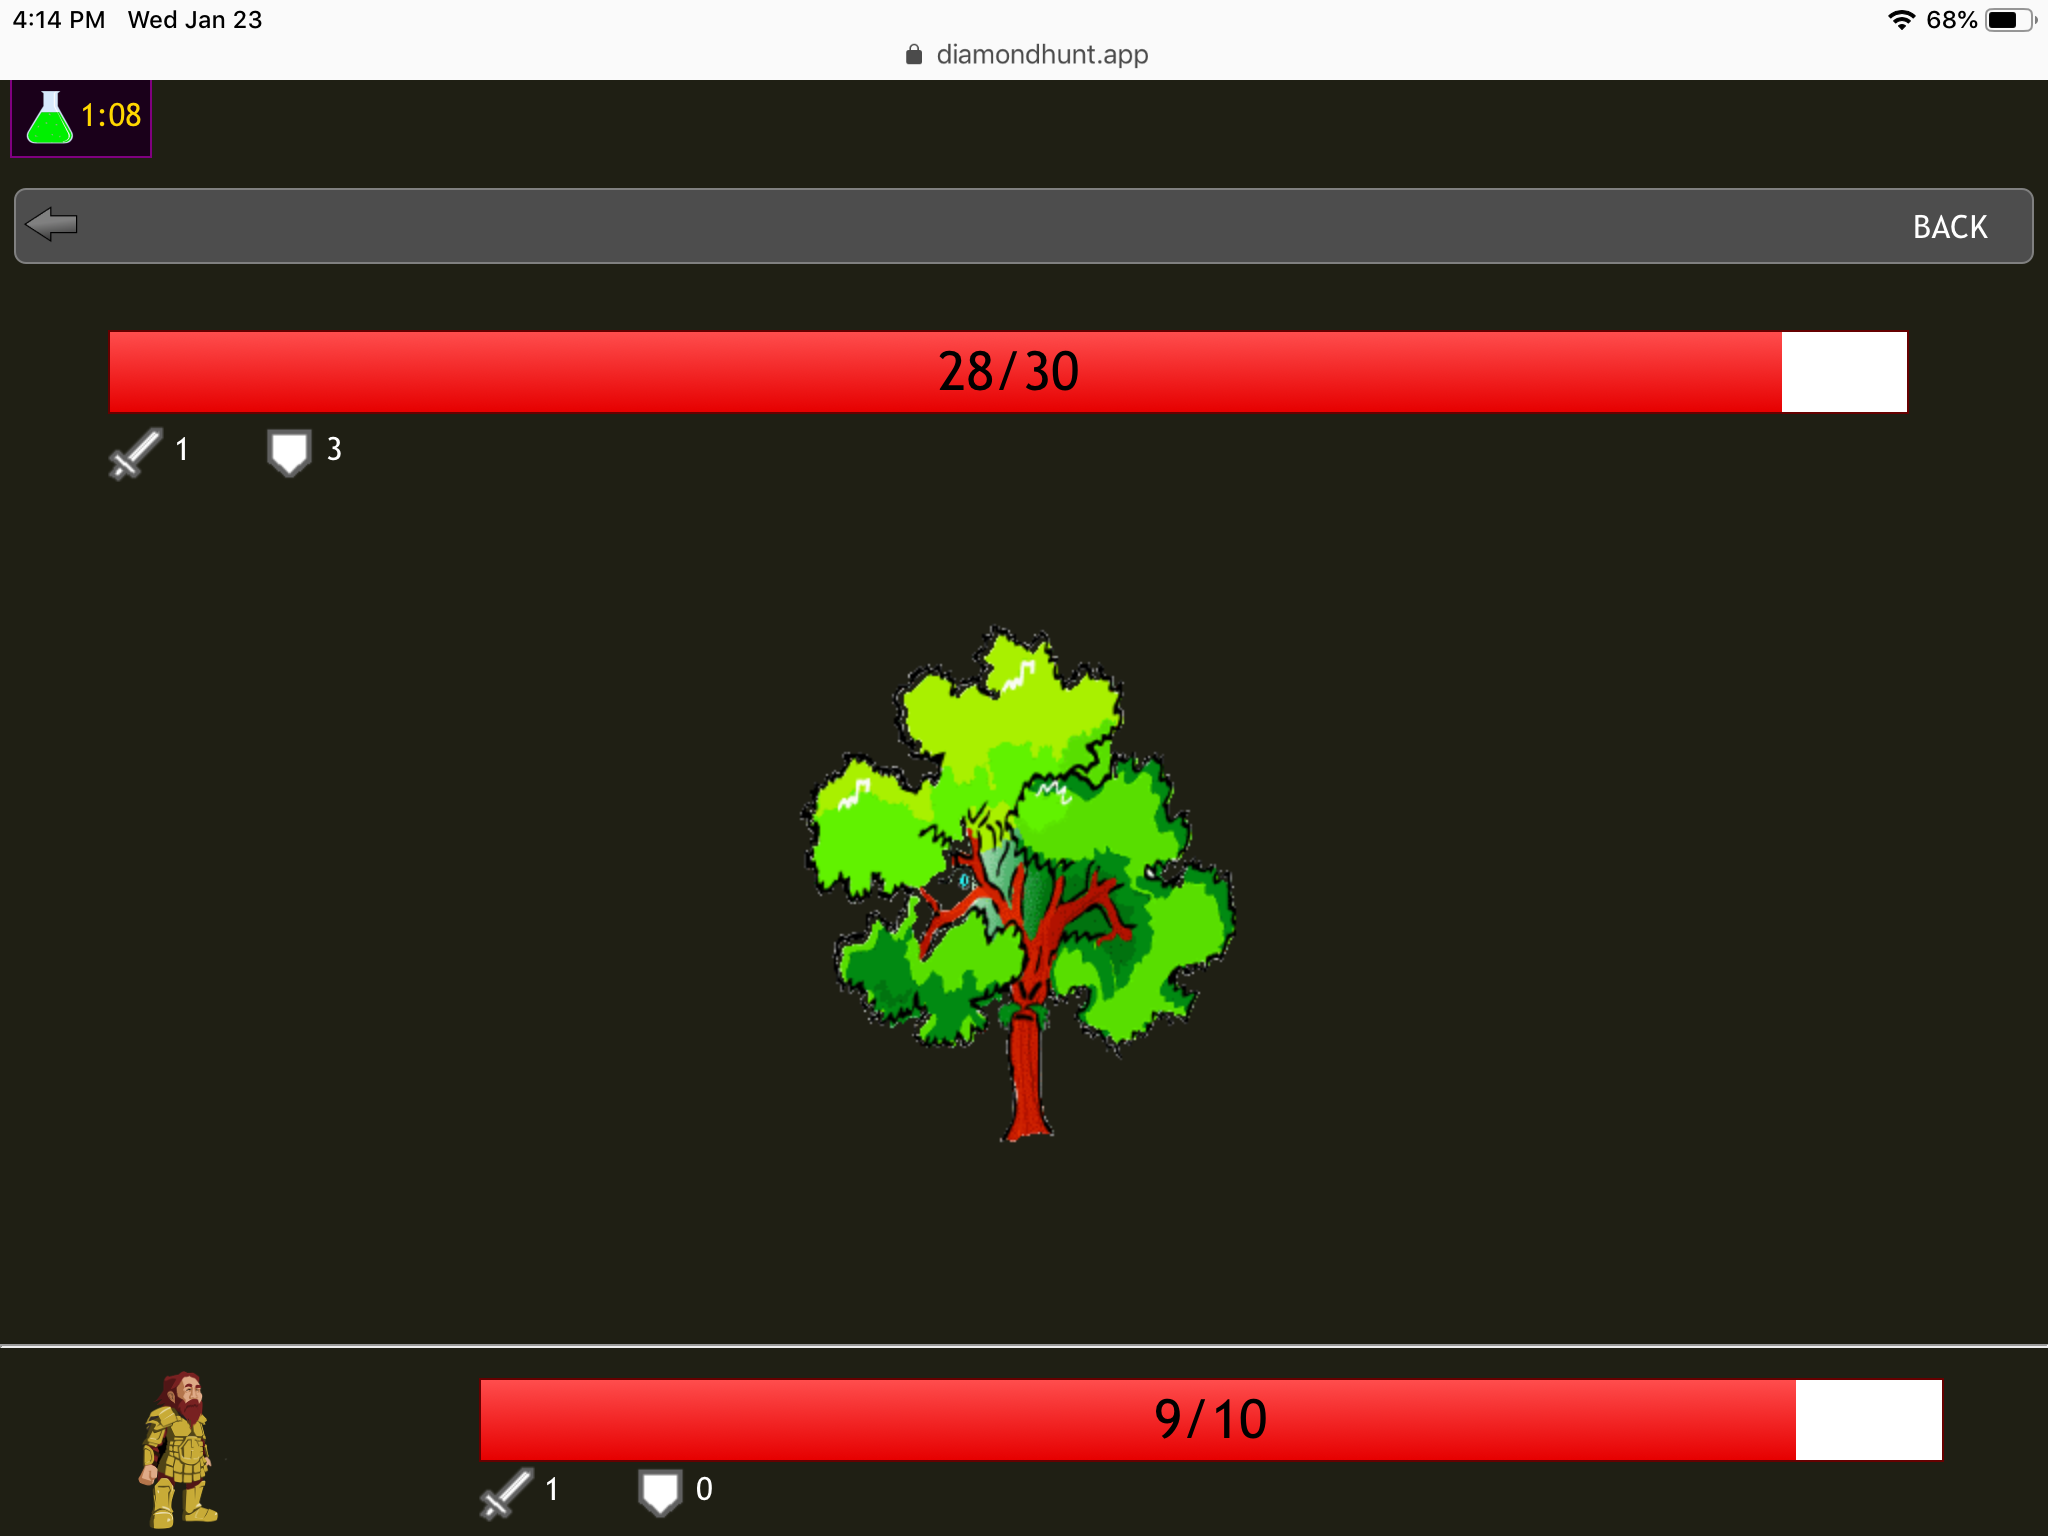
Battles[]
In a battle, to win, you must drain all your enemy's hp before losing your own. Your enemy is at the right side of the screen, while you are at the left. Your maximum damage and armor level are displayed next to your explorer. You can increase these stats by equipping new weapons and armor. You can use some potions during combat to help you fight, like Hp and Freeze potions.
(To Right: A screenshot of a player fighting an Ent)
Loot[]
After you win a battle, you get loot corresponding to the monster. Loot tables can be found below at each monster's individual page. In addition, you get an area loot bag.
Combat areas[]
Each battle requires a certain amount of energy to consume and time to rest. The higher level the area, the more energy required and the longer the cool-down will be. Monsters in higher level areas also are stronger than in lower areas. Each area in which you can fight has three Monsters and some areas also have a Boss you need to fight first. For a list of combat areas, see Exploring.
Hit chance[]
The formula for hit chance when defence is an even number is:
HitRate = 1 / Maximum(1, Defence / 2 - Accuracy + 1)
For odd defence, it is the average of the hit rates when defence is 1 higher and 1 lower. A hit rate calculator is provided below.
Accuracy:
Defense:
Hit Chance: 100.00%
Enemies[]
There are currently 4 boss, 1 special, and 48 normal monsters in the game:
This chart shows monster stats, and their loot they drop.
Enemy | ||||
---|---|---|---|---|
1000 | 10 | 100 | 32 |
More on monsters[]
For more specific information on the different types of monsters, tap on the monster's name below.
On each monster page in the table below, there are a few sections:
- Loot drop table: shows the loot you can get from the monster
- Equipment table: the minimum is what you need to beat that monster, if you can't beat it with that, try using the recommended equipment
- Strategies: tells you if you need to do anything special to defeat the monster
(You may have to hit the expand button on the box)
Monsters | |
---|---|
Fields (Blood) | |
Forests (Blood) | |
Caves (Blood) | |
Volcano (Blood) | |
Northern Fields (Blood) | |
Haunted Mansion (Blood) | |
Desert (Blood) | |
Ocean (Blood) | |
Jungle (Blood) | |
Dungeon Entrance | |
Dungeon | |
Dungeon Coffin | |
Castle | |
Cemetery | |
Factory | |
Haunted Woods | |
Deep Ocean | |
Special | |
Normal Monsters appear in Blue • Bosses appear in Purple and Italic Blood Moon Monsters appear in Red • Special Monster appear in Green |
Combat potions[]
Some potions can be used in combat. These may only be used once per fight.
Potion | Brewing Level | Effect |
---|---|---|
Hp Potion | 100 | Heals 5 Health |
Freeze Potion | 135 | Makes the enemy unable to attack for 5 seconds |
Ignore Defence | 220 | Ignore enemy defence on your next hit |
Ghost Scan | 270 | Ability to see ghosts |
Super Hp | 340 | Heals 25 Health |
Strength Potion | 550 | Increases accuracy and attack bonus by %25 |
Spells and Spell-casting[]
Later in the game, you will find a scroll from killing the fire mage in the volcano. This is your first spell.
Unlike DH2, spells do not use mana, and instead, have longer cooldown times. They may be cast multiple times per fight.
Icon | Spell Name | Location | Effects | Cooldown | Upgrade |
---|---|---|---|---|---|
Fire | Fire Mage | 0-3 damage | 15 seconds | Double damage
(0-6 damage) | |
Reflect | Witch's Potion Quest | Reflects monsters next attack | 30 seconds | Reflect will only trigger if the enemy hits over a 0 | |
Thunderbolt | Puzzle Chest (Desert) | 10-15 damage | 60 seconds | Paralyzes your enemy bases on how hard you hit (0.5 second per damage dealt) | |
Teleport | Community Center 7 | Teleport out of Fights | 15 minutes | Reduces the cooldown of Teleport by 10 min | |
Life Steal | Angel (Cemetery) | Heal for as much as your next successful melee attack deals damage. | 5
minutes |
Works on the next 3 successful attacks instead of just 1. |
Notes on spells:[]
- Fire spell does double damage in cold environments. (Northern Fields)
- The drop rate for fire spell is 1/2 according to the update log
- The reflect and teleport spells are also in diamond hunt online (dh2)
- In dh2, ghost scan is a spell (and a scroll), not a combat potion